Creating a UI/UX Motion Study in After Effects (Digital Tutors)
Creating a UI/UX Motion Study in After Effects (Digital Tutors)
2h 10m | Video: AVC (.mp4) 1280x720 15fps | Audio: AAC 32KHz 2ch | 1.43 GB
Genre: eLearning | Project Files Included
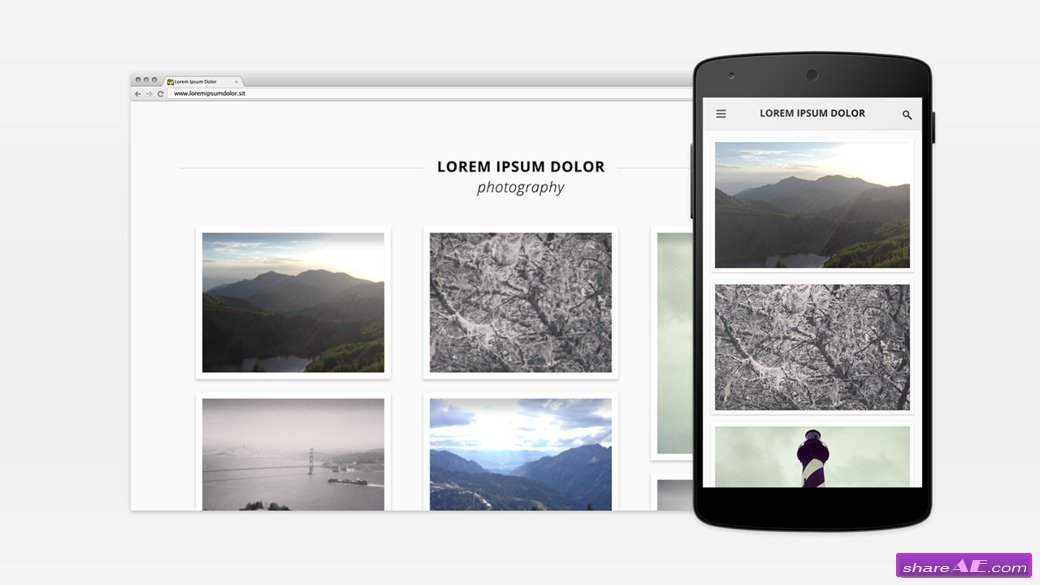
Throughout these lessons we'll be diving into some of the techniques that can be used within After Effects in order to create motion studies for UI and UX designs. So, in this tutorial, we explore the versatility of shape layers, use sliders and expressions to gain more control over our compositions and reduce clutter, and, by the end, learn how to take static comps and bring them to life.
As we focus on why motion design is an important part of the design process, we'll discover how motion studies can be a valuable alternative to prototypes.

Quick Start to Animation in CINEMA 4D: Volume 3 (Digital Tutors)
Quick Start to Animation in CINEMA 4D: Volume 3 (Digital Tutors)
English | Duration: 36m 47s | AVC 1280x720 15 fps | AAC 96 Kbps 48.0 KHz | 227 MB
Genre: eLearning | Project Files Included
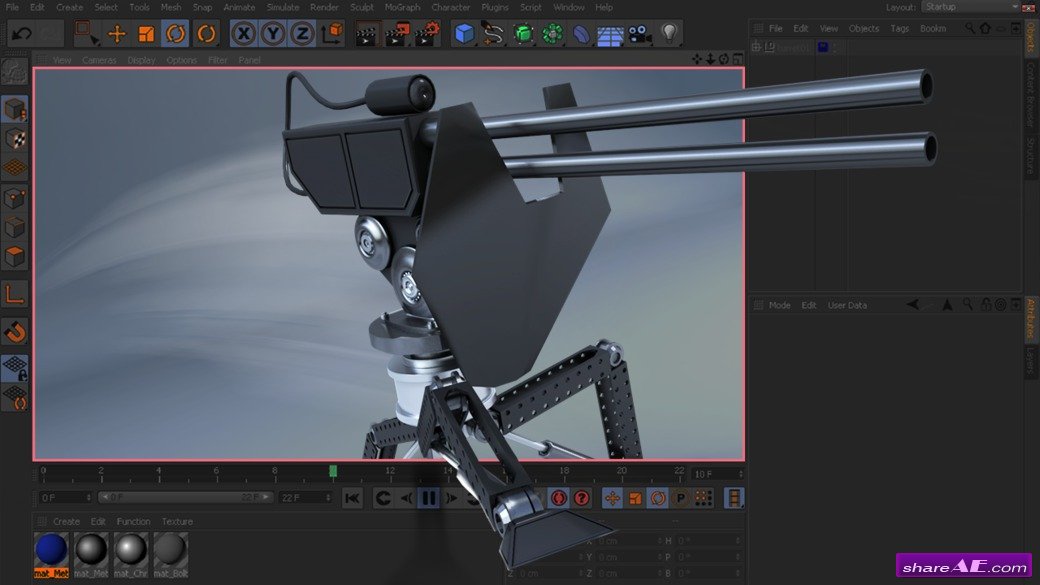
Welcome to Volume 3 of the Quick Start to Animation in CINEMA 4D, a series of specially constructed tutorials meant to be followed in sequence and interspersed with valuable exercises to reinforce learned concepts.

Animated Concept Storyboards Using Photoshop and After Effects (Digital Tutors)
Animated Concept Storyboards Using Photoshop and After Effects (Digital Tutors)
2h 50m | 1.17 GB | Project Files: Included | Software used: Photoshop CC , After Effects CC
Genre: eLearning
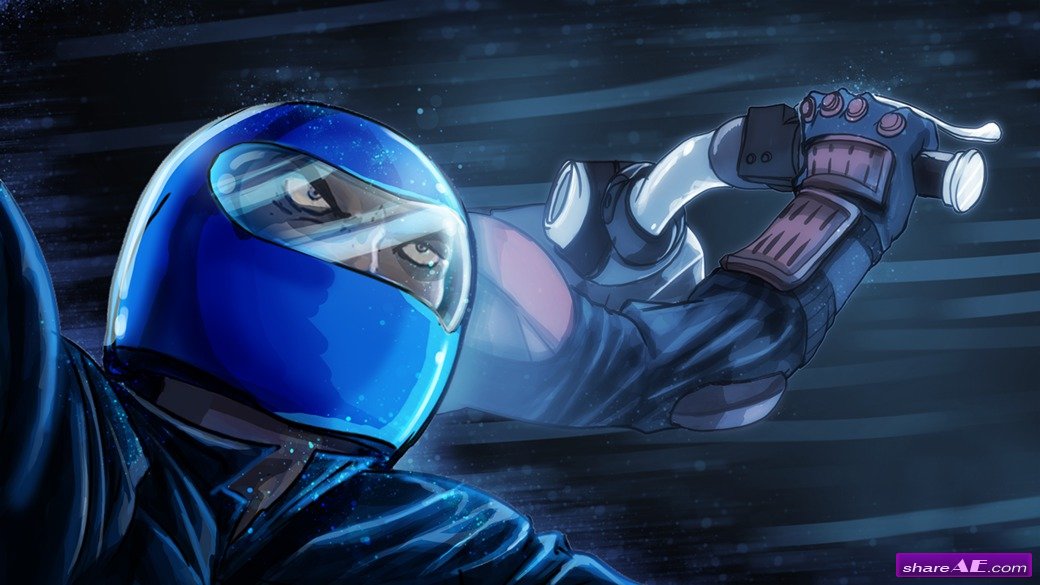
Throughout these lessons we'll go over the steps necessary to creating concept storyboards. There are times when static storyboards aren't enough to articulate a scene to producers or directors.

Integrating Motion Graphics with Live Action Footage in Cinema 4D and After Effects (Digital Tutors)
Integrating Motion Graphics with Live Action Footage in Cinema 4D and After Effects (Digital Tutors)
English | .mp4 | h264 542 kbps | 1280 x 720 15fps | AAC 44,1kHz stereo | 1h 50m | 1.03 Gb
Genre: eLearning | Project Files Included
In this series of tutorials, we’ll learn the process for building motion graphics that integrate with
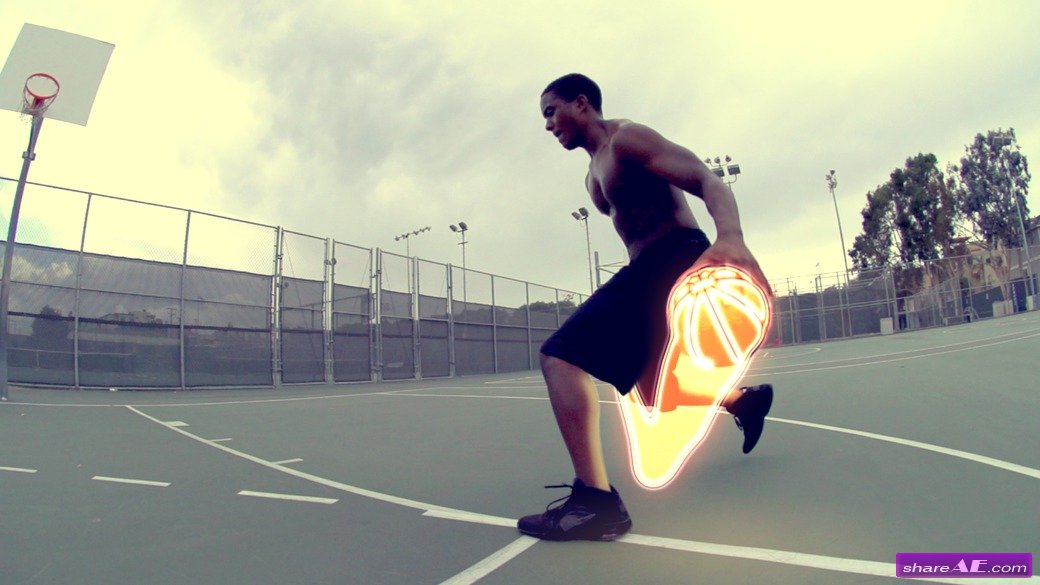
live action footage. We’ll also learn how to composite those motion graphics with the footage in a way that can make even the most graphically styled elements feel real.
We begin by learning how to bring footage into CINEMA 4D so that it can be animated over. We then use a bit of geometry to matchmove the basketball in the live shot. After getting the position and rotation of the real ball matched, we learn how to use sweeps and MoGraph tracers to create beautiful trailing graphics.

Your First Day Using mocha in After Effects (Digital Tutors)

Your First Day Using mocha in After Effects (Digital Tutors)
1h 14m | Video: AVC (.mp4) 1280×720 15fps | Audio: AAC 32KHz 2ch | 1.44 GB
Genre: eLearning | Project Files Included
In this series of tutorials, we will be taking a look at our first day in mocha AE. We’ll start by learning how to access mocha from inside of After Effects. We’ll get familiar with the interface and the different tools we’ll be using throughout the course. We’ll learn how powerful mocha is by tracking a simple planar surface.

Using the 3D Camera Tracker and Integrating Graphics in After Effects (Digital Tutors)

Using the 3D Camera Tracker and Integrating Graphics in After Effects (Digital Tutors)
English | Duration: 2h 3m | AVC 1280x720 15 fps | AAC 96 Kbps 48.0 KHz | 1.45 GB
Genre: eLearning | Project Files Included
In this series of tutorials, we'll learn how to use After Effects' 3D Camera Tracker and how to integrate assets into the shot. We'll be doing an augmented reality style project to learn these techniques.

Utilizing Effects and Presets in After Effects (Digital Tutors)
Utilizing Effects and Presets in After Effects (Digital Tutors)
50m 38s | Video: AVC (.mp4) 1280x720 30fps | Audio: AAC 32KHz 1ch
Genre: eLearning | After Effects CC | Project Files Included | September 14, 2014
In this series of tutorials, we will be getting familiar with effects and presets in After Effects. We will start by adding multiple effects to a solid to get an understanding of how stacking order can change the appearance of an effect. Once we’re happy with how everything looks we will learn how to save our effects as a preset that we can use again in other projects. We will also take a look at how we can save presets for keyframes as well as shape layers, layer styles, layer properties and even expressions. And finally, we’ll take a look at how we can browse the existing After Effects presets, alter them for our project and then save them as our own user preset. By the end of this course, you will have an understanding of how effects work and will be able to save time in your workflow by using presets to easily apply commonly used effects and properties to your projects.

Creating Cartoon Characters in CINEMA 4D R15 (Digital Tutors)
Creating Cartoon Characters in CINEMA 4D R15 (Digital Tutors)
2h 32m | Video: AVC (.mp4) 1280x720 15fps | Audio: AAC 32KHz 2ch | 824 MB
Genre: eLearning | Project Files Included
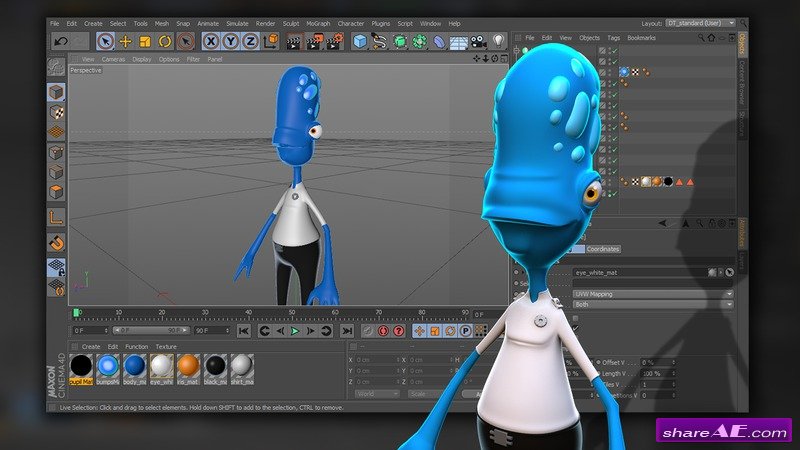
Cartoony, stylized characters are prevalent in the world of tv and film CG, as well as video games. These types of characters are a lot of fun to build, but they do present their own set of challenges.

Creating Vibrant Fractal Transitions in After Effects (Digital Tutors)
Creating Vibrant Fractal Transitions in After Effects (Digital Tutors)
Duration 2h 24m | Level Advanced |Project Files Included |15FPS MP4 | 1.59 GB
Genre: eLearning | Level: Intermediate
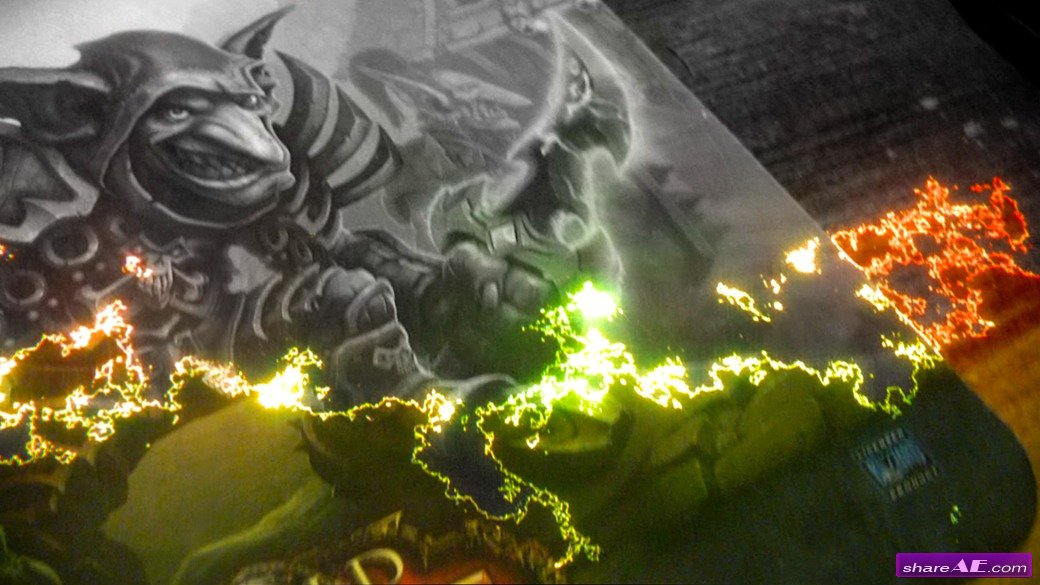
In this series of tutorials we will composite a shimmering fractal reveal in After Effects utilizing assets generated in Maya.We will be matchmoving a live action plate and creating proxy geometry of the scene in Maya. We will then export the geometry as OBJ assets and assemble them in After Effects. We will animate a fractal pattern to act as a matte for our transition and apply that to our 3D geometry using the Element 3D plug-in. To create vibrant glows we will be using plugins such as Radium, Sapphire, and Starglow whilst taking advantage of linear color-space to achieve the best results possible.

Tips for Motion Graphics Lighting and Materials in CINEMA 4D (Digital Tutors)
Tips for Motion Graphics Lighting and Materials in CINEMA 4D (Digital Tutors)
English | 1h 10m | AVC 1280×720 15 fps | AAC 128 Kbps 44.1 KHz | 446 MB
Genre: eLearning | Level: Intermediate
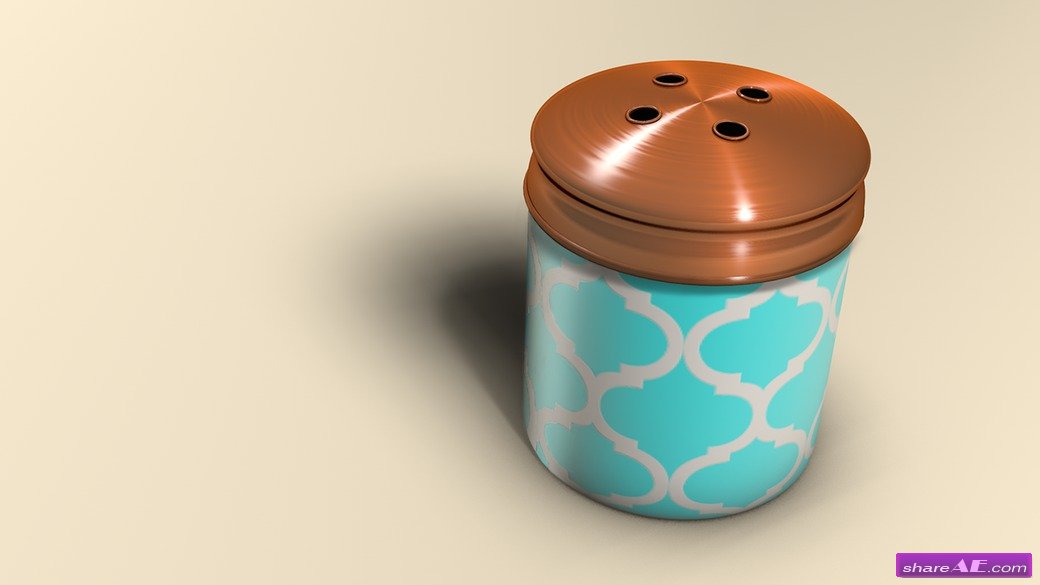
In this series of tutorials, we'll go over tips for lighting and materials in CINEMA 4D. These tips are common things you might encounter as you are creating motion graphics and you need a quick fix or a better way to make something look more realistic.

Unlocking the Power of the Roto Brush Tool in After Effects (Digital Tutors)
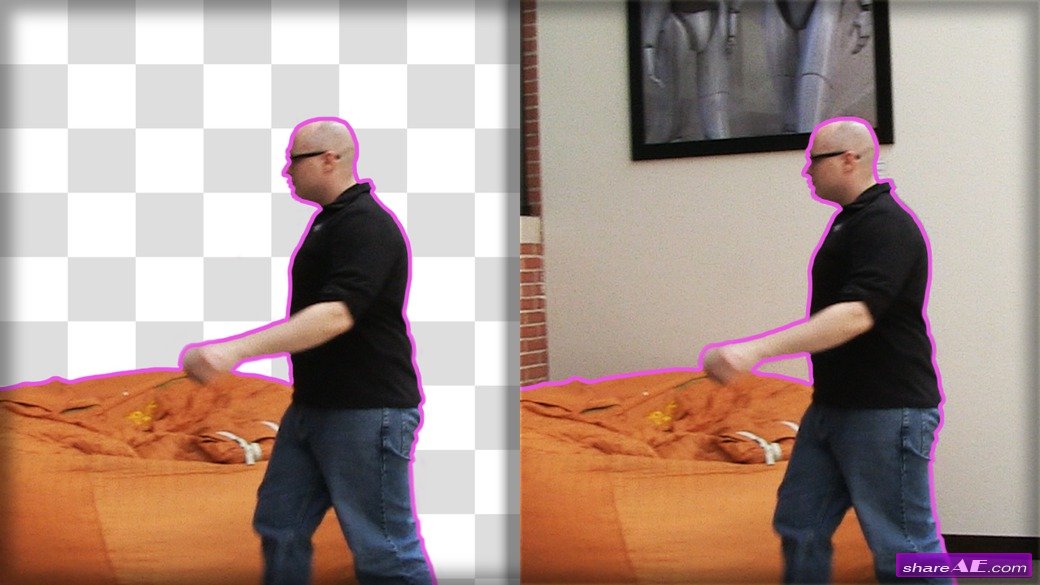
Unlocking the Power of the Roto Brush Tool in After Effects (Digital Tutors)
ISO | Durring 1h 34m | Project Files Included | Author Laura Smith | English | 964.69 MB
Genre: E-learning
In this series of lessons, we'll be learning how to use the Roto Brush Tool. A lot of people try to use the Roto Brush Tool without knowing how it works. They jump in, start painting one frame after the other and depending on their patience level, they soon give up.

Getting Started with CINEWARE in After Effects (Digital Tutors)
Getting Started with CINEWARE in After Effects (Digital Tutors)
English | Audio: aac, 44100 Hz, stereo (und)
MP4 | Video: h264, yuv420p, 1440x900, 30.00 fps(r) (und) | 1.75 GB
Genre: Video Training
In this series of tutorials, we will learn the powerful new workflow between After Effects and CINEMA 4D using the CINEWARE effect.
We take the first lesson to layout the differences between all this new terminology, then we jump right into creating our project by learning how to use CINEMA 4D projects in After Effects. We learn ways to speed up your workflow with the render settings and how to use cameras interchangeably back and forth between both software.

Creative Development: Compositing a Lunar Environment in After Effects CS6 and Maya (Digital Tutors)
Creative Development: Compositing a Lunar Environment in After Effects CS6 and Maya (Digital Tutors)
English | AVC 1280x720 15 fps | AAC 188 Kbps 44.1 KHz | 1.95 GB
Required Software: After Effects CS6, Maya 2013, PFTrack 2011, Photoshop CS6
Genre: eLearning
In this tutorial we'll be covering the entire pipeline of compositing live action footage into a lunar environment. Keying and compositing will be done inside of Adobe After Effects, matchmoving in PFTrack 2011 with the recent node based workflow, texturing in Photoshop, and all 3D processes done in Autodesk Maya using mental ray. By the end of this training, you'll have the knowledge to take live action, green screen footage and composite it into a realistic 3D environment with a re-animated matchmoved camera.

Retiming Footage to Perfection in After Effects (Digital Tutors)
Retiming Footage to Perfection in After Effects (Digital Tutors)
eleased: Jul 8, 2014 | After Effects CC | 28m 24s | Project Files Included
Size: 582.848 MB
In this series of tutorials, we'll learn various methods for changing the timing of our footage in After Effects. There are lots of different techniques for retiming, all with different pros and cons that might make one technique be a better fit for you over another. We'll begin by understanding the differences between Time Stretching, Time Remapping, and Timewarping.

Multi-part Greenscreen Keying in After Effects (Digital Tutors)
Multi-part Greenscreen Keying in After Effects (Digital Tutors)
Project Files Included | After Effects CS5 and up | 1h 1m
Genre: eLearning
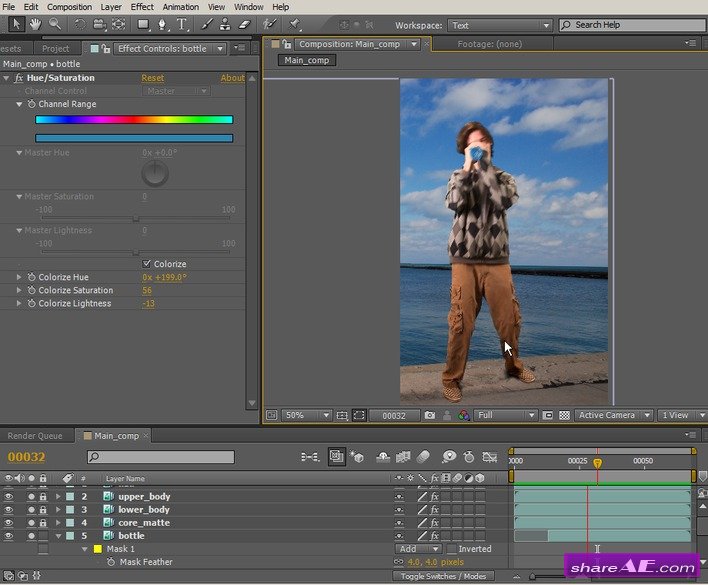
In this After Effects tutorial we will learn how to key a greenscreen using multiple layers to capture as much detail as possible. Using multiple layers and keyers, we will be able to focus our efforts and create a better final matte.

Introduction to MoGraph in Cinema4D (Digital Tutors)
Introduction to MoGraph in Cinema4D (Digital Tutors)
Duration 1h 44m | Project Files Included | 575 MB
Genre:eLearning
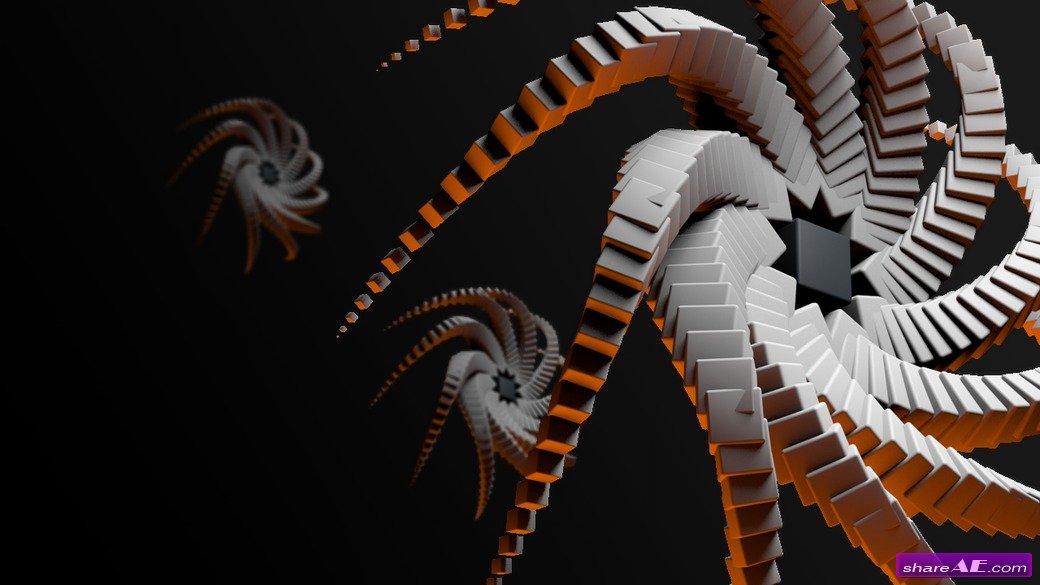
In this series of tutorials, we’ll take an introductory look at the MoGraph toolset in CINEMA 4D. MoGraph is a set of tools that provides us an unlimited world of possibilities for handling motion graphics.

Creating Contrasting Animations with Solid Shapes in After Effects (Digital Tutors)
Creating Contrasting Animations with Solid Shapes in After Effects (Digital Tutors)
Intermediate | 3h 14m | 1.78 GB | Project Data files 13 MB | Required Computer software:Results CS6
Audio:aac, 44100 Hz, music system | Online video media:h264, yuv420p, 1280×720, 15.00 fps(r)
Genre:eLearning
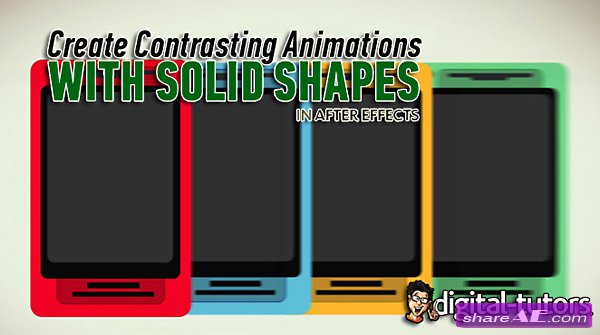
In this series of After Effects tutorials, we will talk about the steps we take to create an animated tablet commercial while learning tips and concepts you can use in your own projects. We’ll start by discussing the thinking behind what shapes and animation types we will use in the process, and establish that none of these decisions are arbitrary or based on something just “looking cool”. There is a reason behind all of the choices we make as we progress through the project.

Utilizing the Brush Tools in After Effects (Digital Tutors)

Utilizing the Brush Tools in After Effects (Digital Tutors)
58m 39s | English | .mp4 | AVC 1280x720 15 fps | AAC 96 Kbps 48.0 KHz | 301 MB
Genre :eLearning | Project Files Included
In this series of tutorials, we'll talk about the brush tools in After Effects. We'll start by getting familiar with how the brush tool operates and the various controls and settings that are available.
We'll talk about techniques for animating the paint strokes and also ways to use the brush tool to create animations for revealing layers in a composition. We'll go over how we can add expressions to paint strokes that we've created to animate their properties. We'll also talk about the eraser tool and its similarities and differences to the brush tool.

Mastering the Graph Editor in After Effects (Digital Tutors)
Mastering the Graph Editor in After Effects (Digital Tutors)
ISO | Duration 1h 27m | Project Files Included | Author Laura Smith | English | 805.8 MB
Genre: E-learning
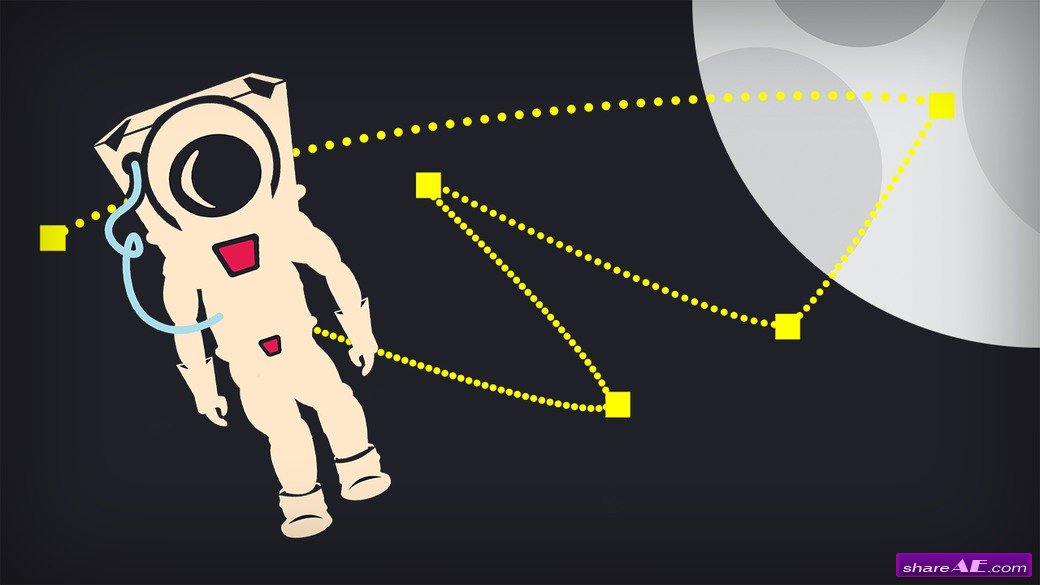
In this series of tutorials, we'll be learning how to master the Graph Editor. The Graph Editor can be a tricky tool to use in After Effects but it's very powerful and once you understand how it works, it will transform the way you animate.

Optimizing Video Footage in After Effects (Digital Tutors)
Optimizing Video Footage in After Effects (Digital Tutors)
English | .MP4 | AVC 1280x720 15 fps | AAC 96 Kbps 48.0 KHz | 324 MB
Genre : eLearning | Project Files Included
In this series of tutorials, we'll talk about some of they ways you can make improvements and corrections to video footage using After Effects.
We'll start by stabilizing shaky footage shot by a handheld camera. We'll use the Warp Stabilizer effect to smooth the motion in our shot and we'll talk about which settings to use for different types of footage and what results to expect.

Building a Rigged Camera Composition in After Effects (Digital Tutors)
Building a Rigged Camera Composition in After Effects (Digital Tutors)
Duration: 3h 38m | Video: AVC (.mp4) 1280x720 15fps | Audio: AAC 32KHz 2ch
Genre: eLearning | Level: Advanced | Language: English
Size: 2.22 GB
In this series of After Effects tutorials, we will learn how to rig a camera using an animated Null object in After Effects.
We will start out by getting a few things set up in the project with importing assets. We then move onto getting the position of the Null object set up. This project execution requires a knowledge of Spatial and Temporal keyframe interpolation, which we go over as we are setting up the animation of the Null object.

Taking Your Animations from Amateur to Professional in After Effects (Digital Tutors)
Taking Your Animations from Amateur to Professional in After Effects (Digital Tutors)
English | MPEG4 Video (H264) 1280x720 15fps 1507kbps | MP4 | 621 Mb
Genre: eLearning
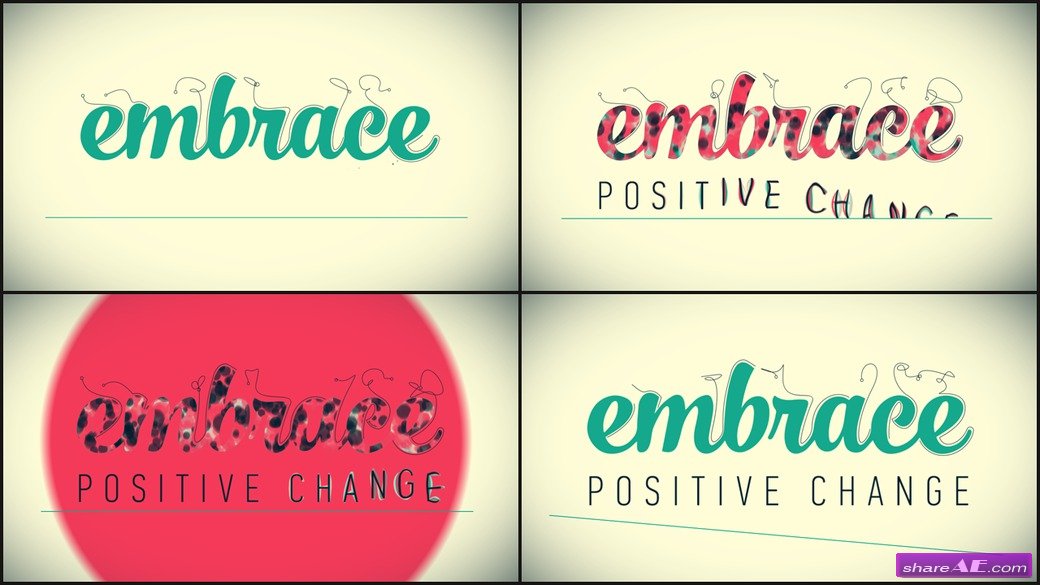
In this series of lessons, we will learn how to take a pretty good motion graphics animation and make it an amazing one. This tutorial takes a little bit of a different approach than the way that we normally go about creating something together. We will have an animation that has already been made and go over what is wrong with it or what could be made better. We then start making those changes and refine the animation.

Ray-tracing with Typography in After Effects (Digital Tutors)
Ray-tracing with Typography in After Effects (Digital Tutors)
English | Team: N/A | .flv | h264, 1280?720, 15.00 fps | aac, 44100 Hz, stereo | 1.27 GB
Genre: eLearning
In this series of After Effects tutorials, we will learn how to use the new Ray-tracing feature in CS6 to create 3D animated typography and shapes.
We begin this tutorial in Illustrator, where we lay the ground work for our image. This creation step contains vital information for how the Illustrator file must be set up for it to work once it has been imported to After Effects. We use a few scripts that speed up our process tremendously for some of the more repetitive and tedious parts of the project.

Introduction to 3D in After Effects (Digital Tutors)
Introduction to 3D in After Effects (Digital Tutors)
1h 9m | Level : Beginner | Project Files Included | 369 MB | Software used : After Effects CC 12.0
In this tutorial, we will explore many of the 3D features available in Adobe After Effects.
We will start by taking 2D layers and converting them to 3D, which unlocks new attributes and adjustable properties. We'll create lights and shadows in our 3D world and we'll go over how we can create a 3D camera and manipulate it manually or by creating rigs that control movement and focus. We'll finish by learning about the Ray-traced 3D renderer and the features that you can utilize using ray-traced such as shape layer and text extrusion, bending footage, reflection and transparency.

Creating a Watercolor Painting Effect in After Effects (Digital Tutors)
Creating a Watercolor Painting Effect in After Effects (Digital Tutors)
English | .mp4 H.264, 1280x720, 2000 Kbps, 25 fps | AAC LC, 44 KHz, 128 Kbps, 2ch | 1.2 GB
Intermediate | 3h 15m | Project Files 56 MB | Required Software: After Effects CS6
In this series of After Effects tutorials, we will talk about the steps we take to create this watercolor painting effect project. We begin by using a simple masking technique to reveal the text and drawings that interact with our watercolor paintings. We talk about some of the more technical and tricky aspects of getting this write-on effect looking perfect and all throughout the course, we implement the technique in new and different ways.

Explaining Complex Topics with Motion Graphics in After Effects CC (Digital Tutors)
Explaining Complex Topics with Motion Graphics in After Effects CC (Digital Tutors)
English | 5h 57m | AVC 1280x720 15 fps | AAC 128 Kbps 44.1 KHz | 1.15 GB
Genre: eLearning | Level: Intermediate
In this series of tutorials, we will go through the steps from start to finish for creating a video that explains a hard to understand topic.
Often times people turn to motion graphics to explain difficult topics and it can be a challenge for motion designers to know how to get started and how to create videos like this. We will go through the process of analyzing the script to choose what assets to create and how they should work. We then bring those assets into After Effects and approach creating the video step by step, ensuring that we explain the topic as easily as possible using a contrast of motion and pauses.

Getting Started with the Puppet Tool in After Effects (Digital Tutors)
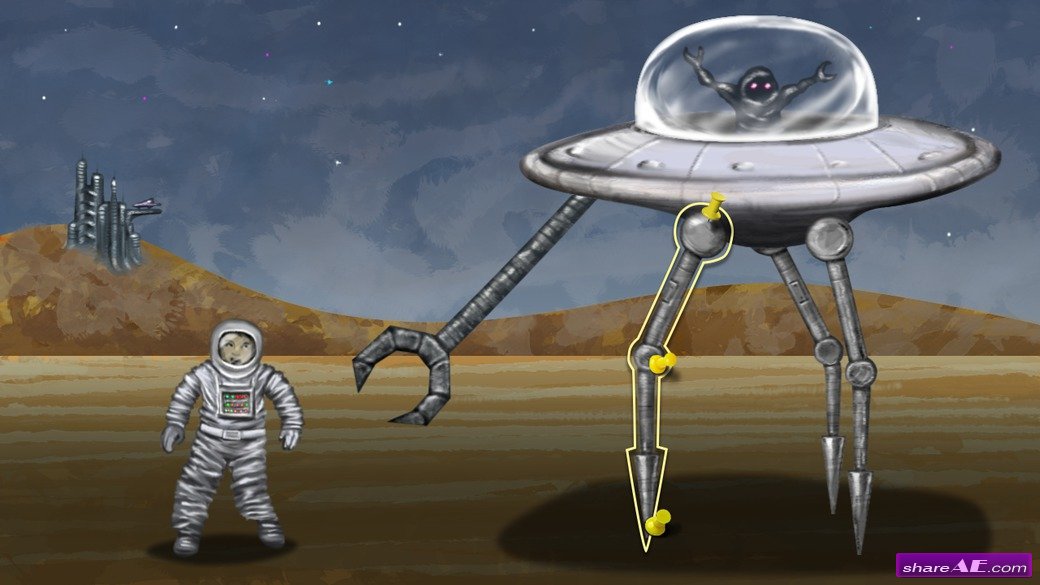
Getting Started with the Puppet Tool in After Effects (Digital Tutors)
English | 54 mins | AVC 1280x720 15 fps | AAC 128 Kbps 44.1 KHz | 289 MB
Genre: eLearning | Level: Beginner
In this series of tutorials, we'll be getting familiar with the puppet tool and the ways you can create great animations by deforming layers in your composition.
We'll start by creating pins with the puppet pin tool and learn about the relationship between the pins and how they can work as joints or transform the layer.

Product and Packaging Visualization in CINEMA 4D and After Effects (Digital Tutors)
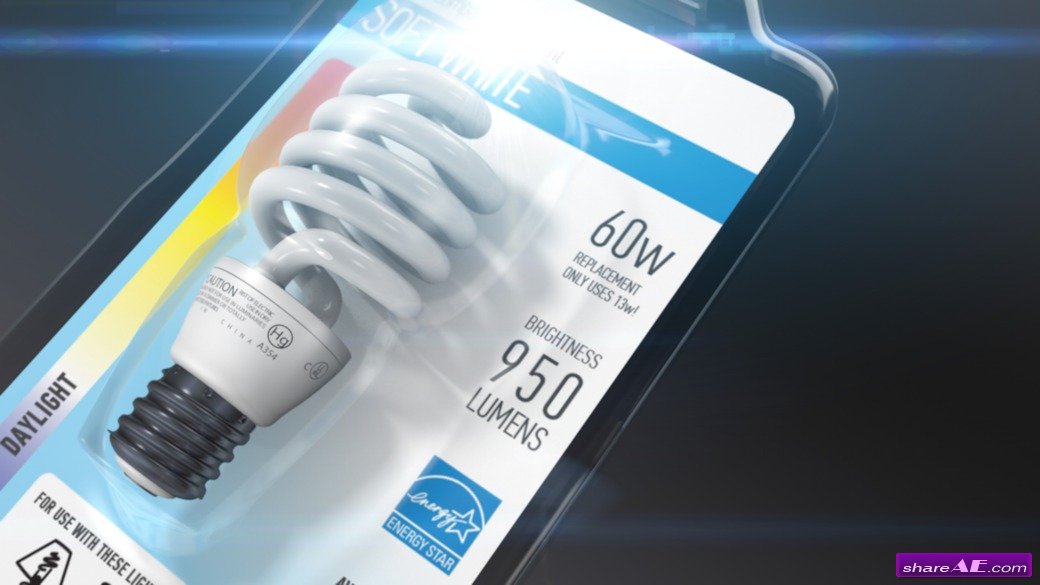
Product and Packaging Visualization in CINEMA 4D and After Effects (Digital Tutors)
Duration: 3h 28m | Level: Intermediate | Project Files Included | Software used: CINEMA 4D R15, After Effects 12.2.0.52, Knoll Light Factory | 2 GB
In this series of tutorials, we will go through the process of creating a product visualization animation complete with text explaining the benefits of the product. This product also includes its packaging which can create some unique challenges when trying to show off the product itself.
We'll learn how to make this work for us and then how to bring this inanimate object to life. We'll use Cloners and our own personal hierarchy controls to create lots of fun and interesting arrangements of the product.

Tracking in After Effects (Digital Tutors)
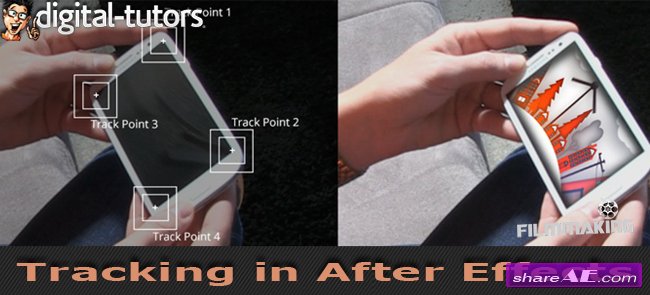
Tracking in After Effects (Digital Tutors)
English | 1h 21m | AVC1 1280x720 15 fps | AAC 128 Kbps 44.1 KHz | 1.37 GB
Genre: eLearning | Level: Beginner
In this series of lessons we will go through the different types of 2D tracking. We will learn how to do a simple one-point translation track, a two point track that also involves rotation and scale, as well as a four point track used for screen replacement.
Throughout the course, we learn how to troubleshoot issues that arise while tracking as well as best practices for getting the most accurate track possible. We explore using color correction, defining the channel information to use in the track, as well as a few other possibilities for assisting difficult tracks.

10 Tips for Working Faster in After Effects (Digital Tutors)
10 Tips for Working Faster in After Effects (Digital Tutors)
English | Audio: aac, 44100 Hz, stereo
FLV | Video: h264, yuv420p, 1280x720, 15.00 fps(r) | 1.14 GB
Genre: Video Training
In this series of After Effects tutorials, we learn 10 time-saving tips to speed up your workflow in After Effects. Some of these tips are simple things that you should be doing in all your projects like staying organized in the project panel. Other tips require a little more thought on when to implement them, like Memory and Multiprocessing or using motion blur efficiently.

Creating 3D Geometry from Vector Logos in After Effects (Digital Tutors)

Creating 3D Geometry from Vector Logos in After Effects (Digital Tutors)
ISO | Duration 54m 55s | Project Files Included | Author Alex Hernandez | English | 281 MB
Genre: E-learning
In this lesson, we will create a 3D geometry using a vector logo made in Illustrator.
We will start by preparing our Illustrator file for After Effects. We'll decide which pieces of our logo file we want to separate to different layers and why. We'll go over how our Illustrator document can actually be imported as an After Effects composition. Once imported into After Effects we will create 3D geometry with our shapes.

Introduction to After Effects for Motion Designers (Digital Tutors)
Introduction to After Effects for Motion Designers (Digital Tutors)
Duration: 6h 49m | Video: AVC (.flv) 1280x720 15fps | Audio: AAC 44.1KHz stereo
Genre: eLearning | Level: Beginner | Language: English
If you want to become a motion graphics artist, or you already know a little bit about After Effects but you're just getting started this is the training for you.
You will learn all the things that you need to know to get you off the ground and creating your own motion graphics work. We learn the tools and effects that After Effects has to offer, while going through the real creation process of a motion graphics piece. We run into some of the real problems that can be really difficult to solve on your own, and we answer those questions that can save you a lot of time.

Unlocking the Power of Guide Elements in After Effects (Digital Tutors)
Unlocking the Power of Guide Elements in After Effects (Digital Tutors)
English | 38 mins | AVC 1280x720 15 fps | AAC 128 Kbps 44.1 KHz
Duration 37m 54s | Level : Beginner | Project Files Included | 191 MB
Genre: eLearning
In this series of tutorials, we'll talk about the various traditional and nontraditional guide elements for After Effects.
We'll start by creating a traditional guide and manipulating it in our composition. We'll talk about ways to get the most of these guides by changing their color and style and making our layers snap to them. We'll even learn how to create intricate guides in Photoshop and pull them into After Effects.

Creating News Channel Lower Thirds in After Effects (Digital Tutors)

Creating News Channel Lower Thirds in After Effects (Digital Tutors)
English | Project Files Included | 55 mins | AVC 1280x720 15 fps | AAC 128 Kbps 44.1 KHz | 282 MB
Genre: eLearning | Level: Beginner
In this series of tutorials, we'll be creating a lower third for a news channel broadcast.
We will start by discussing requirements for animations that will be broadcast on television like keeping your elements action and title safe. We'll get familiar with incorporating a station ID and brand colors into our animation. We'll plan out how we want our lower third to show up and operate by blocking out shapes, then we'll give our pieces depth and movement so they're not static and boring.

Creating and Using Track Mattes in After Effects (Digital Tutors)

Creating and Using Track Mattes in After Effects (Digital Tutors)
English | 1h 02m | AVC 1280x720 15 fps | AAC 128 Kbps 44.1 KHz | 830 MB
Duration 1h 2m | Project Files Included | Software : AE 12.2.0.52
Genre: eLearning
In this series of tutorials, we will learn the process of creating and using track mattes in After Effects.
We learn how to use several different types of footage as well as a customized particle system to create track matte reveals and effects. We learn a few time saving tips for the treatment of multiple layers to use in the track matte process. We also learn how to use blending modes and how they are related to track mattes. This training is for you if you want to learn the powerful yet simple process of creating and using track mattes in After Effects.

Creating a Refracting Liquid UI in After Effects and Maya (Digital Tutors)
Creating a Refracting Liquid UI in After Effects and Maya (Digital Tutors)
English | 2h 23m | AVC 1280x720 15 fps | AAC 128 Kbps 44.1 KHz | 529 MB
Genre: eLearning | Level: Beginner
Throughout these lessons we will cover the entire process from start to finish of creating a refracting user interface that reacts to our live-action plate. We'll start off with the matchmoving process and then dive into After Effects to explore the principals of good motion design. Core fundamentals such as linear workflow and motion blur settings are also explained. We'll then jump into Maya and create a liquid simulation using the Maya pond system.
All elements are then taken into NUKE where they are seamlessly composited together in the most visually appealing manner.


