Creating a 3D Time Warp Effect in Maya and After Effects (Digital Tutors)
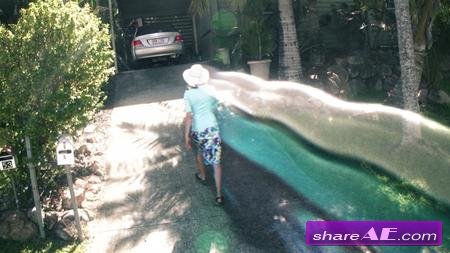
Creating a 3D Time Warp Effect in Maya and After Effects (Digital Tutors)
1h 49m | Video: AVC (.mp4) 1280x720 15fps | Audio: AAC 32KHz 2ch | 1.67GB
Genre: eLearning | Project Files Included
In this Maya and After Effects tutorial we'll create the entire pipeline for simulating a complex 3D time warp effect. Topics covered include setting up the live action shoot, rotoscoping techniques using mocha in After Effects and Matchmoving in PFTrack. We'll also learn about 3D Camera Stabilization in Maya, creating our effect using custom MEL tools and compositing techniques in After Effects.
By the end of this Maya and After Effects training, you'll have the knowledge to create your own 3D time warp effect for your projects.

Creative Development: Compositing a Lunar Environment in After Effects CS6 and Maya (Digital Tutors)
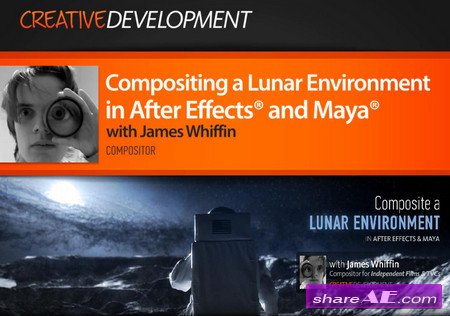
Creative Development: Compositing a Lunar Environment in After Effects CS6 and Maya (Digital Tutors)
English | AVC 1280x720 15 fps | AAC 188 Kbps 44.1 KHz | 1.95 GB
Required Software: After Effects CS6, Maya 2013, PFTrack 2011, Photoshop CS6
Genre: eLearning
In this tutorial we'll be covering the entire pipeline of compositing live action footage into a lunar environment. Keying and compositing will be done inside of Adobe After Effects, matchmoving in PFTrack 2011 with the recent node based workflow, texturing in Photoshop, and all 3D processes done in Autodesk Maya using mental ray. By the end of this training, you'll have the knowledge to take live action, green screen footage and composite it into a realistic 3D environment with a re-animated matchmoved camera.

Creating a Refracting Liquid UI in After Effects and Maya (Digital Tutors)
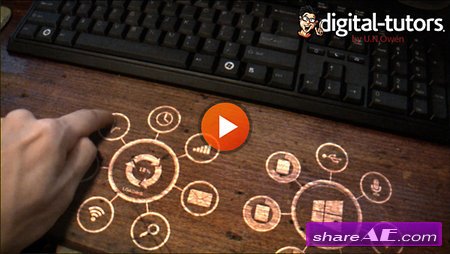
Creating a Refracting Liquid UI in After Effects and Maya (Digital Tutors)
English | 2h 23m | AVC 1280x720 15 fps | AAC 128 Kbps 44.1 KHz | 529 MB
Genre: eLearning | Level: Beginner
Throughout these lessons we will cover the entire process from start to finish of creating a refracting user interface that reacts to our live-action plate. We'll start off with the matchmoving process and then dive into After Effects to explore the principals of good motion design. Core fundamentals such as linear workflow and motion blur settings are also explained. We'll then jump into Maya and create a liquid simulation using the Maya pond system.
All elements are then taken into NUKE where they are seamlessly composited together in the most visually appealing manner.


